
I managed to create the above tote bag for my FSIL as a birthday present by following this tutorial for the bag construction. I added the J before starting. I cut out the J in the accent material and placed it on the piece of material that would be the “front”. Then I cross stitched around it so that it would stay in place.
I decided to expand on my tote creating prowess after I saw this:
I started out by drawing up a pattern and making some notes:

Yup.....this is how it all started folks. My, ummmmm....sketch (we wont craft blasphemy anymore by calling this a pattern) basically laid out which sides of what material would need to be hemmed before starting the actual construction, and which edges could stay raw. Impressed yet?
Then I gathered my supplies:

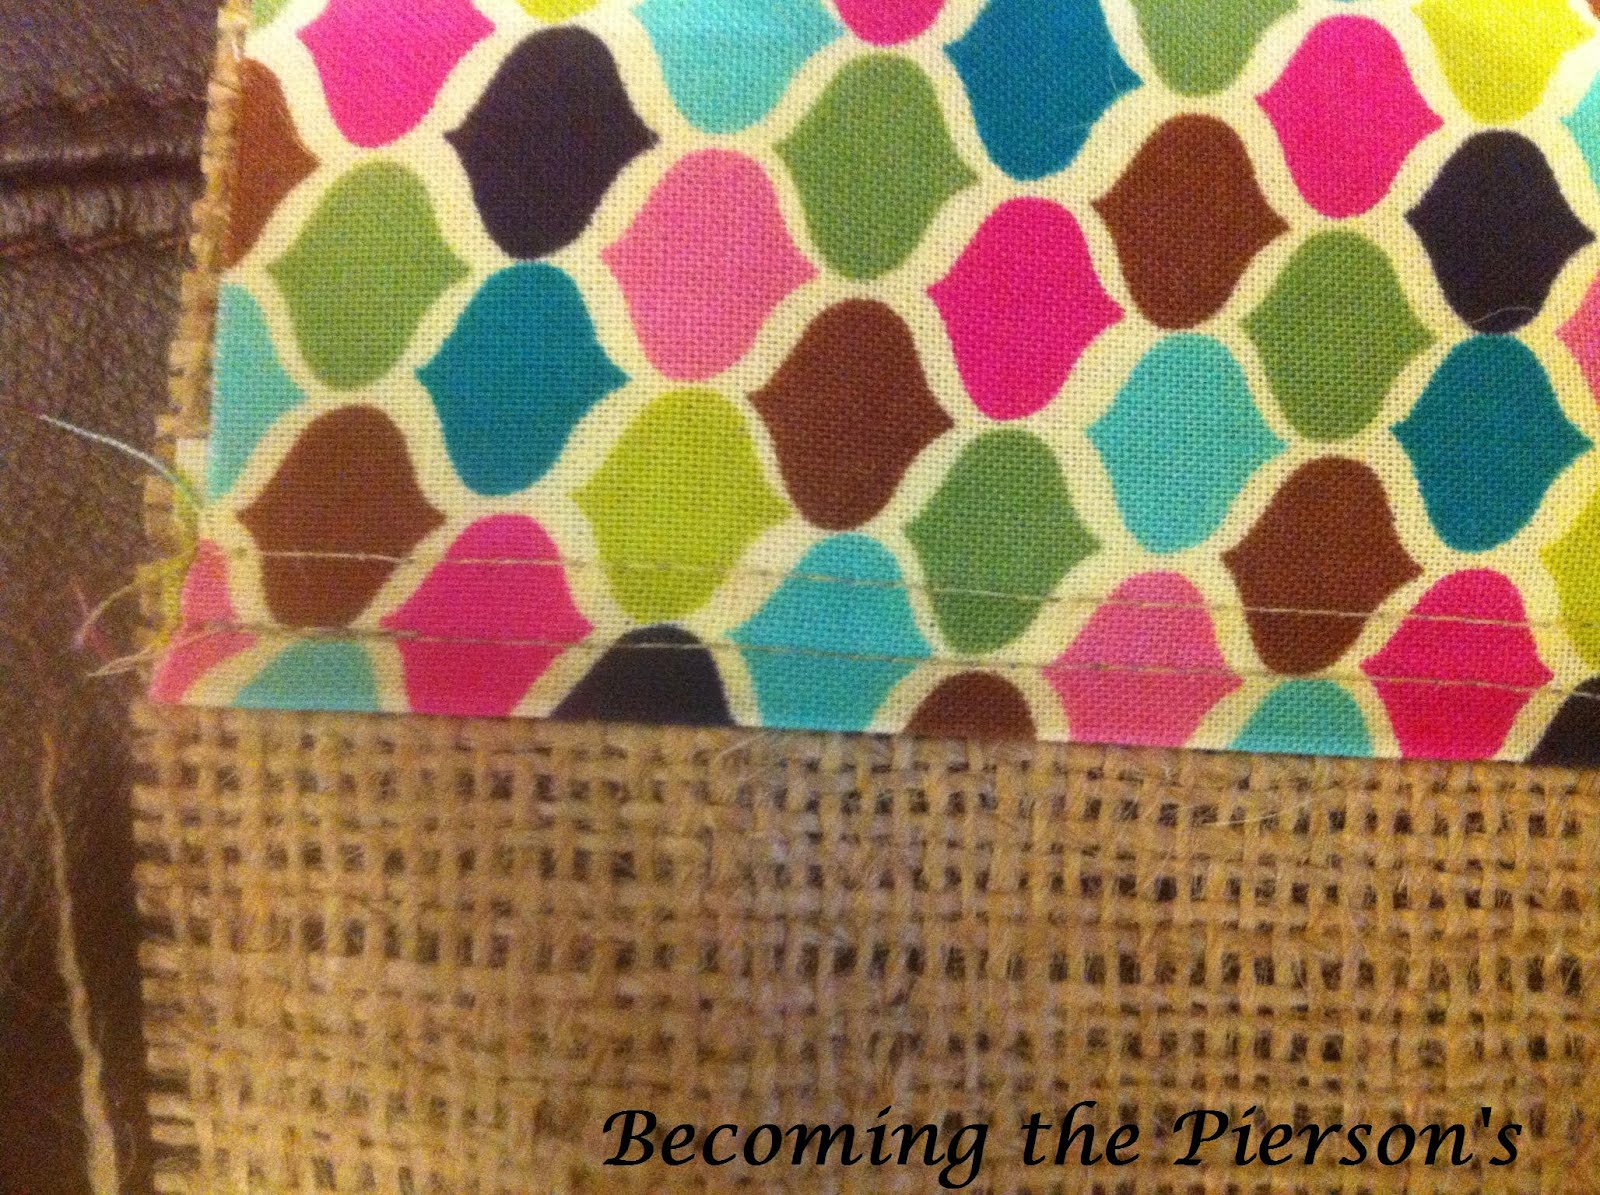
The burlap material is going to be used as the outside of the bag, and material with the larger pattern is going to be used as the liner. The accent material with the small pattern is going to be used for the monogram, handles, and the strip around the top.
Next, I decided on the tote size. I eventually settled on 18.5 x 19’. I wanted them to be big enough to carry a towel and other beach necessities.
Then, I cut out the letters for the monogram that would go on the front. I was making four bags, with four different monograms.

After cutting the initials, I cross stitched the initial to the center of the bag.

Next, I tackled the strips that would go around the top edge. I cut the accent material into 4 inch by 19 inch strips, two for each bag. And this is where it gets tricky to explain. Three of the edges of the strip can remain raw because they will be sewn into the bag. These three edges are the top edge and the two 4 inch sides. The bottom edge of the strip that will be placed closest to the initial will be visible after the bag is finished so it will need to be tucked under and given a clean hem. I ran the sewing machine over it twice to give it a more finished look.
Once the initial is cross stitched and the strip is sewn on, all the tricky parts are done! All you have to do now is follow the rest of this tutorial to finish the bag.

It really was pretty easy once all the little extras (letter and accent strips) were sewn on to the burlap. I just pretended that the initial and strip at the top were part of the burlap. Although, I guess it’s not really reversible anymore. Or it can be if you don’t care about the monogram. But to me that’s the best part!

I’ve spent all this time making everybody else one, I have YET to make myself one. Think I’ll ever get around to it?
I'm hoping even thought I didn't make the trip (sad face) that B is for me. If not, you should get on that!!
ReplyDeleteWell done and nice job excellent work and useful information about the Opportunity it's nice job.
ReplyDeleteburlap bags